
There are many applications that use HMAC-based authentication (for example Microsoft Teams’ chat bot). This blog explains how to create a reusable custom policy with MuleSoft Anypoint Platform in order to authenticate requests from applications using HMAC authentication.
[HMAC is a specific type of message authentication code. The client sends the HMAC original message (not encrypted) along with the hash. The server side receives the message and, using the secret token of the server, hashes the message to compare it with the received hash. If there is a match, then the authentication passes; if not, the authentication is declined.]
Steps to create a reusable custom policy for HMAC authentication
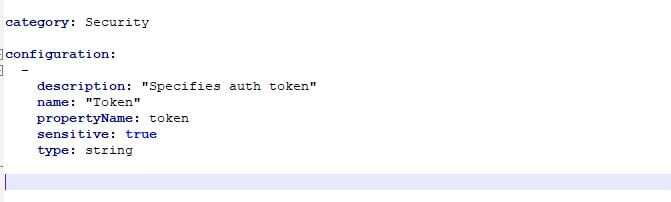
- Create a YAML config file using the secret token as the input parameter
- Create a Policy config XML file with the sample groovy script* shown in the image below, to take the input token (refer to step 1) to hash the incoming message for the HMAC authentication.
*the sample groovy script needs to be added to the ‘before’ section of the policy xml file.
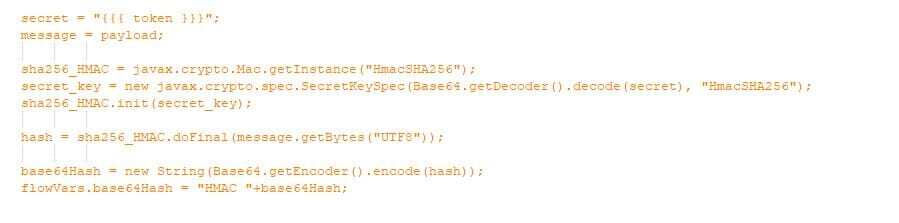
In this stage you can also specify message filters to apply if the inbound hash is null or not equal to the generated hash. The filters can refer to the processor chains which need to be defined outside the ‘before’ section of the policy.
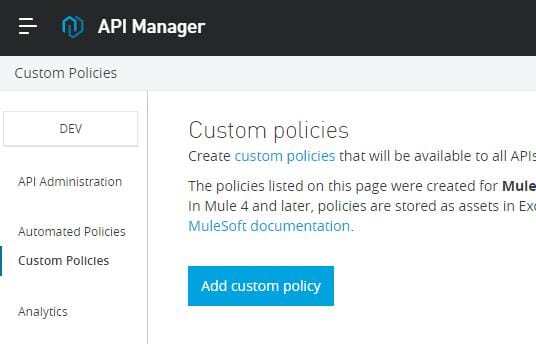
- Now we have the YAML config and XML Policy config ready to be imported in the API Manager. Click on Custom Policies and then click on the Add Custom Policy button.
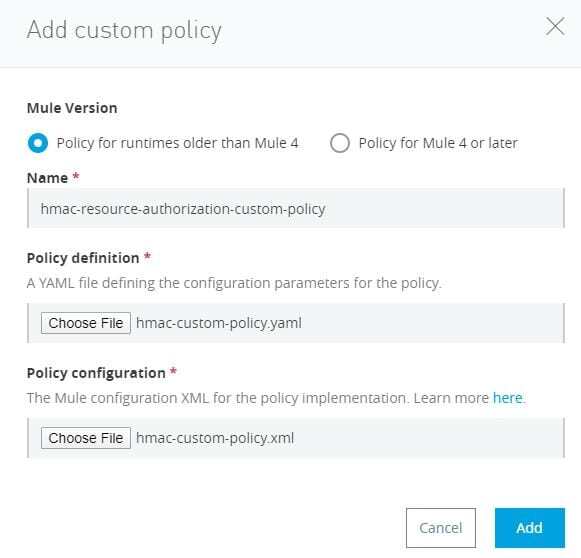
- Choose the policy ‘runtimes older than Mule4’ (for Mule 4-based policies keep any eye out for our next blog). Provide the ‘Name’ of the policy and the file locations for YAML and Policy XML.
- Now go to your Mule application/proxy and attach the custom policy you created. You should have an application to which to attach the policy, which is now visible in the Select Policy list.
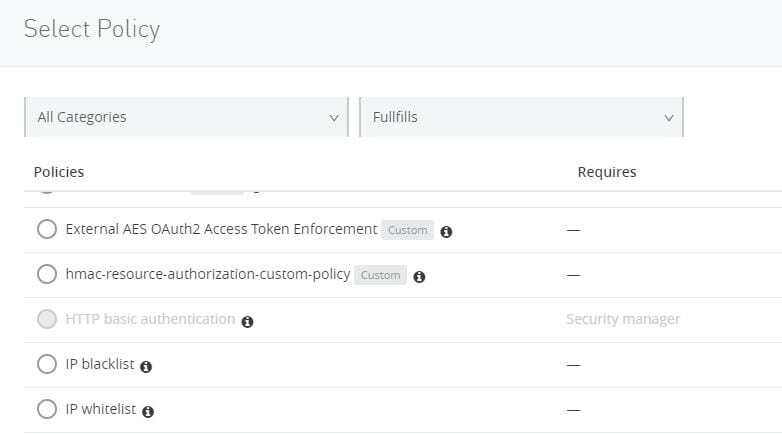
- Now go to your Mule application/proxy and attach the custom policy you created. You should have an application to which to attach the policy, which is now visible in the Select Policy list.
- Click on Configure Policy
- Specify the secret token (auth token) received from the client app
- The policy is applied
Now the HMAC-based client application can now test our Mule application to which we attached the policy.
If you would like to find out more about Anypoint Platform and how to enable HMAC authentication, we can help. Give us a call or email us at Salesforce@coforge.com
Other useful links

Related reads


About Coforge
We are a global digital services and solutions provider, who leverage emerging technologies and deep domain expertise to deliver real-world business impact for our clients. A focus on very select industries, a detailed understanding of the underlying processes of those industries, and partnerships with leading platforms provide us with a distinct perspective. We lead with our product engineering approach and leverage Cloud, Data, Integration, and Automation technologies to transform client businesses into intelligent, high-growth enterprises. Our proprietary platforms power critical business processes across our core verticals. We are located in 23 countries with 30 delivery centers across nine countries.