
1. Why do we need a custom policy?
Let’s say your organization has a special authorization logic which requires series of checks that is not available in any standard policy. Or you want to apply specific functionally like audit or logging which can be injected as per your need without impacting the main coding logic. Or you want to authenticate a user based on your own db lookup and you want that logic to be written every code. In a nutshell, the custom policy is the most flexible way to inject logic to your application and it can apply the logic before or after your actual API.
2. How to Develop Custom Policy in Mule 4
The following 4 files are required in order to create a new custom policy:
- mule-artifact.json - This is the standard artefacts files with is part of any Mule4 Application.
- ldapAuth.yaml - This file defines any configuration properties.
- pom.xml - This is maven pom files. If we need to use any connectors like object store etc , we need add required dependencies here.
- template.xml - This file contains actual code and logic for the policy. In case additional connectors are required the required xsds have to be added manually.
Development steps
- Identify the connectors to be used as part of this policy
- Add the required dependencies in pom.xml
- Pom.xml should have the below entry

- Here the group id should be the Business Organisation ID for anypoint platform
- Artefact ID is the unique name for the custom Policy
- Version is the Policy Version, which will be visible while applying the policy
- Pom should also contain the Exchange URL and part of it is Business Org ID again.
- Pom should have a new repository to connect to exchange as shown below

- Maven settings.xml should have the exchange user id and password to connect as shown below. Please note the repository id for pom and setting should be same.

- Add the required namespace and xsd in the template.xml.
- All configuration properties will be before <http-policy:proxy> tag of template.xml.
- Code to be executed before the actual http listener of the api to which policy is applied should be before <http-policy:execute-next/>.
- Code to be executed after the Actual API should be after <http-policy:execute-next/>, please note that the set-payload at this stage will override the actual API payload. Also, the inbound parameters will not be accessible at this stage. But variables are accessible.
3. Build the Code
- Go to the directory where pom.xml available and issue “mvn clean install”
4) Upload the Policy in Exchange
- Issue “mvn upload” from the same directory. This should upload the current version of the policy in the exchange.
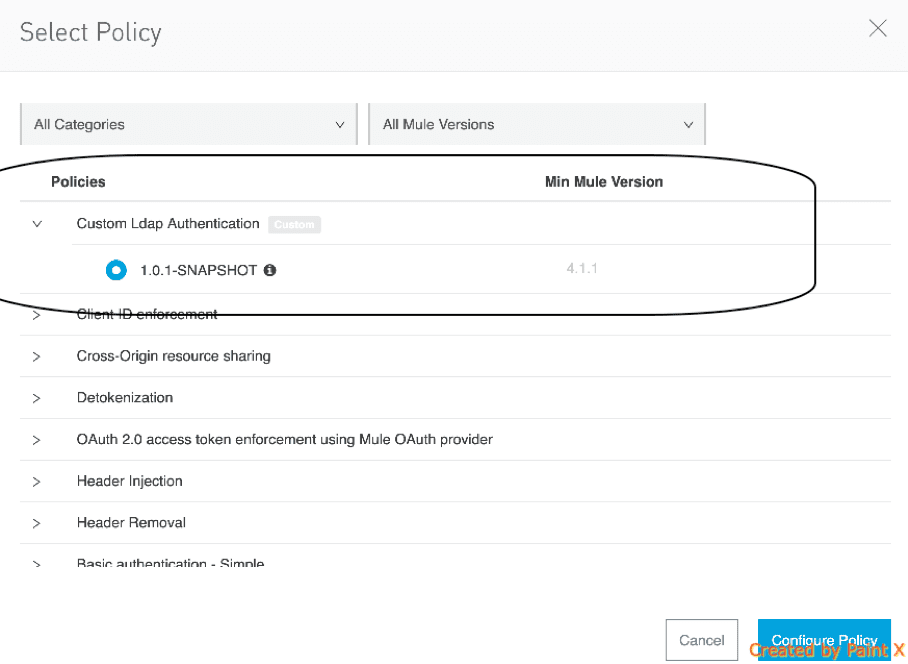
5) Apply the policy and Test
- The policy should be available to apply into any Existing API.
If you would like to find out more about creating a custom policy in Mule 4 then give us a call on
+44 (0)203 475 7980 or email us at Salesforce@coforge.com
Other useful links
Application Architecture: Monolithic vs SOA vs Microservices
API recipes with MuleSoft Anypoint Platform

Related reads

About Coforge
We are a global digital services and solutions provider, who leverage emerging technologies and deep domain expertise to deliver real-world business impact for our clients. A focus on very select industries, a detailed understanding of the underlying processes of those industries, and partnerships with leading platforms provide us with a distinct perspective. We lead with our product engineering approach and leverage Cloud, Data, Integration, and Automation technologies to transform client businesses into intelligent, high-growth enterprises. Our proprietary platforms power critical business processes across our core verticals. We are located in 23 countries with 30 delivery centers across nine countries.